ChatGPT - 利用 ChatGPT 的 api 编写 AI 问答界面
接入 ChatGPT 快速实现的 MVP 版本的AI问答界面
背景
最近发现 ChatGPT 有提供了一套 api 以及 node 工具,于是就想着能不能利用 ChatGPT 的 api 写一个 AI 工具。
准备
实现一个最小可行性产品 MVP 版本
- 前端界面:简单的对话框即可,用 vue 快速实现
- 后台设计:使用官方提供的 node 包以及 api,用 nestjs 快速实现
前端界面编写
使用 vue-cli 快速生成一个前端项目,命名为 dh-chat-ui 如图:

简单编写界面,包含标题、输入框、提问按钮、提问问题展示、答案展示,界面元素使用 naive-ui, 预览如下:
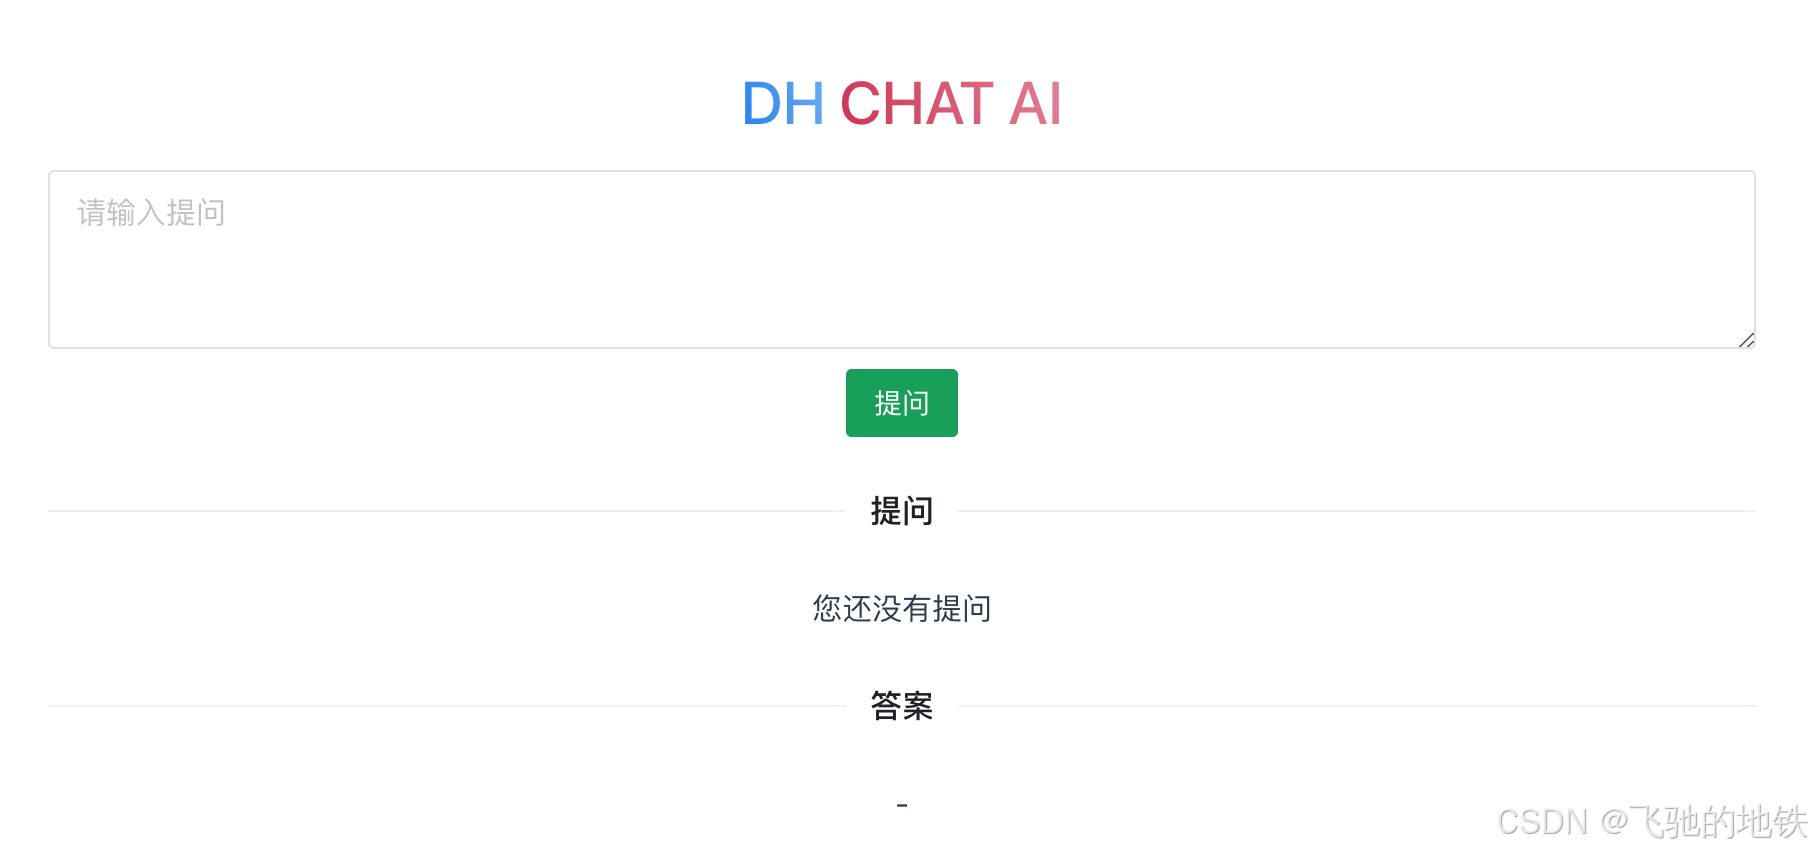
代码非常简单:
1
2
3
4
5
6
7
8
9
10
11
12
13
14
15
16
17
18
19
20
21
22
23
24
25
26
27
28
29
30
31
32
33
34
35
36
37
38
39
40
41
42
43
44
45
46
47
48
49
50
51
52
53
54
55
56
57
58
59
60
61
62
63
64
65
66
67
68
69
70
71
72
73
74
75
76
77
78
79
| <template>
<header>
<n-gradient-text type="info" :size="30"> DH </n-gradient-text>
<n-gradient-text type="danger" :size="30"> CHAT AI </n-gradient-text>
</header>
<main>
<n-input
v-model:value="content"
round
class="dh-input"
type="textarea"
size="large"
placeholder="请输入提问"
>
<!-- <template #prefix>
<n-icon :component="FlashOutline" />
</template> -->
</n-input>
<n-button v-if="!isLoading" type="primary" @click="handleAsk">提问</n-button>
<n-button v-else type="primary" disabled>请稍候</n-button>
<n-divider> 提问 </n-divider>
<div class="answer">
{{ curAsk }}
</div>
<n-divider> 答案 </n-divider>
<div class="answer">
{{ answer }}
</div>
</main>
</template>
<script lang="ts">
import { ref } from 'vue'
import { NButton, NInput, NDivider, NGradientText } from 'naive-ui'
import { FlashOutline } from '@vicons/ionicons5'
import axios from 'axios'
export default {
components: { NButton, NInput, NDivider, NGradientText },
setup() {
const content = ref('')
const answer = ref('-')
const curAsk = ref('您还没有提问')
const isLoading = ref(false)
const handleAsk = async () => {
if (!content.value) {
return
}
isLoading.value = true
curAsk.value = content.value
content.value = ''
answer.value = '思考中'
try {
const response = await axios.post('http://222.125.89.250:70/ask', {
content: curAsk.value
})
answer.value = response?.data.content || '-'
} finally {
isLoading.value = false
}
}
return {
content,
answer,
handleAsk,
FlashOutline,
curAsk,
isLoading
}
}
}
</script>
<style>
.dh-input {
margin: 10px 0;
}
.dh-answer {
padding: 0 10px;
}
</style>
|
后台设计
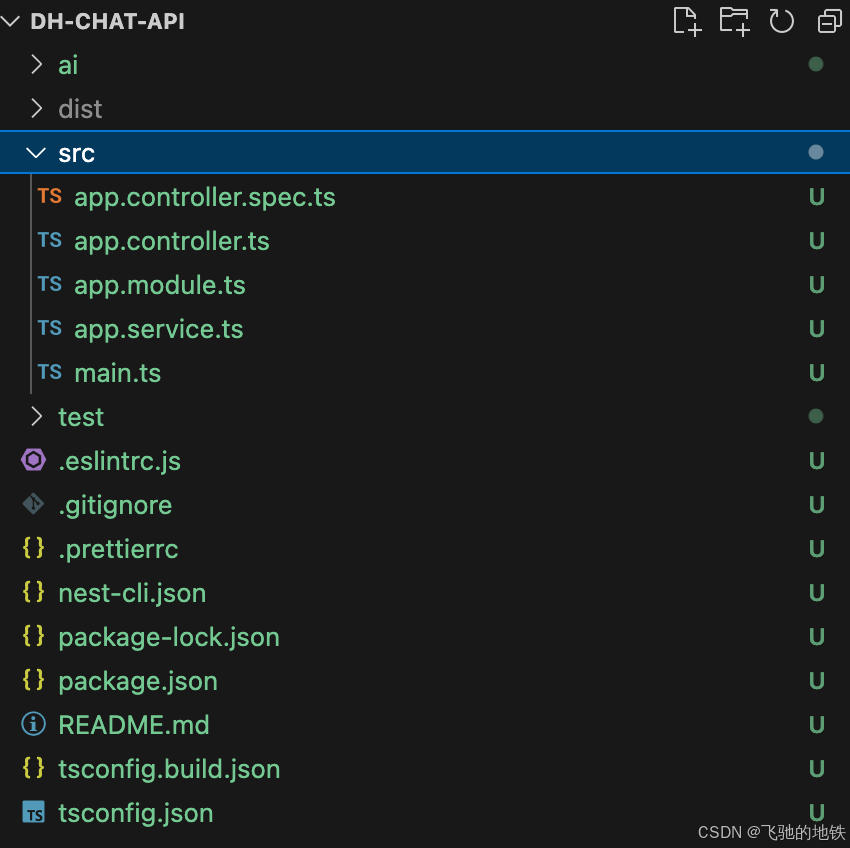
首先创建一个简单的 nest 项目,如图:
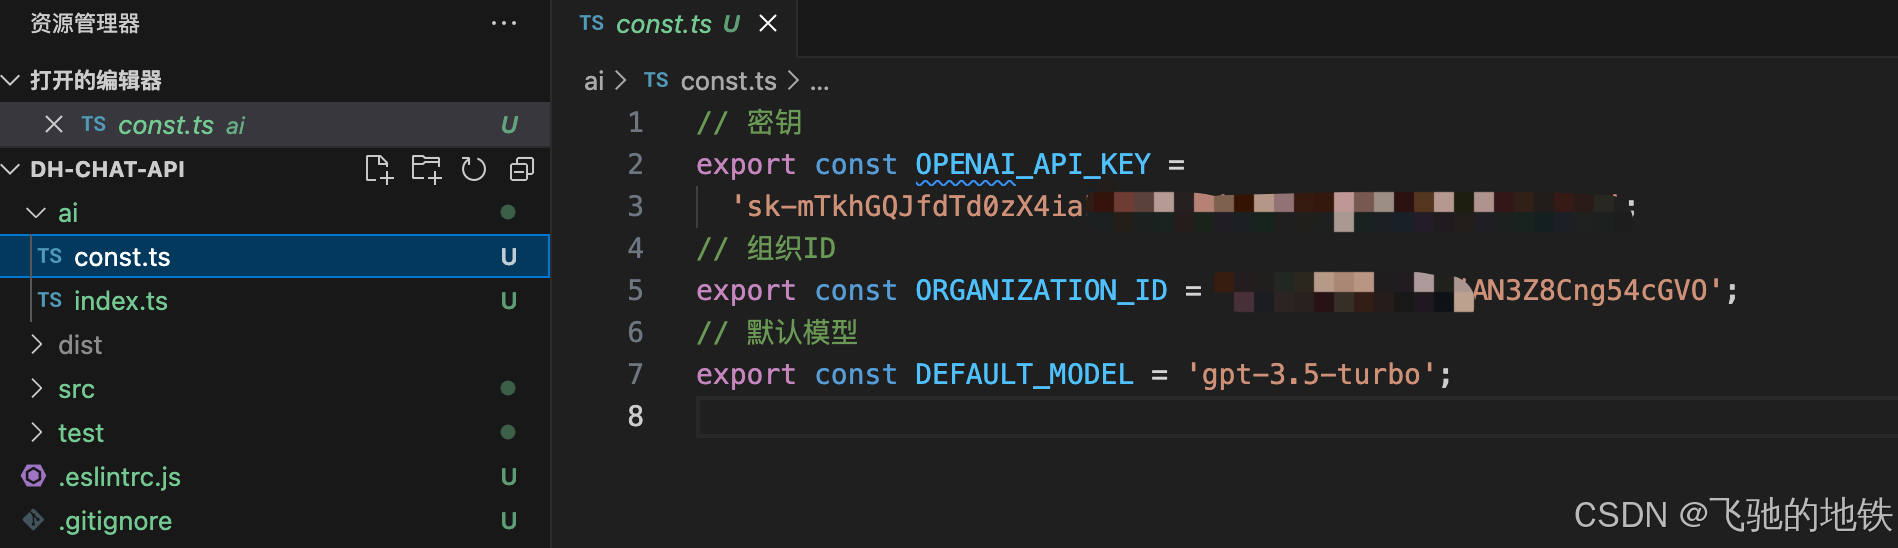
到 openai 官网创建一个 api 密钥、组织 ID,存放到常量文件,模型我选择 gpt-3.5-turbo:
1
2
3
4
5
6
|
export const OPENAI_API_KEY = 'sk-mTkhGQJfdTd0zX4iaFrYT3BlbkFJr2kTg1yxxxxxxxxx';
export const ORGANIZATION_ID = 'org-wBO3nA6YWjAN3Z8Cngxxxxxxxx';
export const DEFAULT_MODEL = 'gpt-3.5-turbo';
|
- 接着使用 openai 提供的 node 包初始化, 得到一个对象。
1
2
3
4
5
6
7
8
9
10
11
12
13
14
| import { Configuration, OpenAIApi } from 'openai';
import { OPENAI_API_KEY, ORGANIZATION_ID } from './const';
export const initOpenai = () => {
const configuration = new Configuration({
organization: ORGANIZATION_ID,
apiKey: OPENAI_API_KEY,
});
return new OpenAIApi(configuration);
};
export const openai = initOpenai();
|
- 编写接口,此处只提供一个 ask 接口用于返回答案:
1
2
3
4
5
6
7
8
9
10
11
12
13
14
15
16
17
18
19
20
21
22
23
24
25
26
27
28
29
30
31
32
33
|
import { Controller, Body, Post } from '@nestjs/common';
import { AppService } from './app.service';
@Controller()
export class AppController {
constructor(private readonly appService: AppService) {}
@Post('/ask')
async postCompletion(@Body('content') content: string): Promise<string> {
console.log(content);
const data = await this.appService.createChatCompletion(content);
console.log(data);
return data;
}
}
import { Injectable } from '@nestjs/common';
import { openai } from '../ai';
import { DEFAULT_MODEL } from 'ai/const';
@Injectable()
export class AppService {
async createChatCompletion(content: string): Promise<any> {
const response = await openai.createChatCompletion({
model: DEFAULT_MODEL,
messages: [{ role: 'user', content }],
});
return response.data.choices[0].message;
}
}
|
- 跨域怎么解决? 直接 cors 允许即可
1
2
3
4
5
6
7
8
| async function bootstrap() {
const app = await NestFactory.create(AppModule);
app.enableCors();
await app.listen(3000);
}
bootstrap();
|
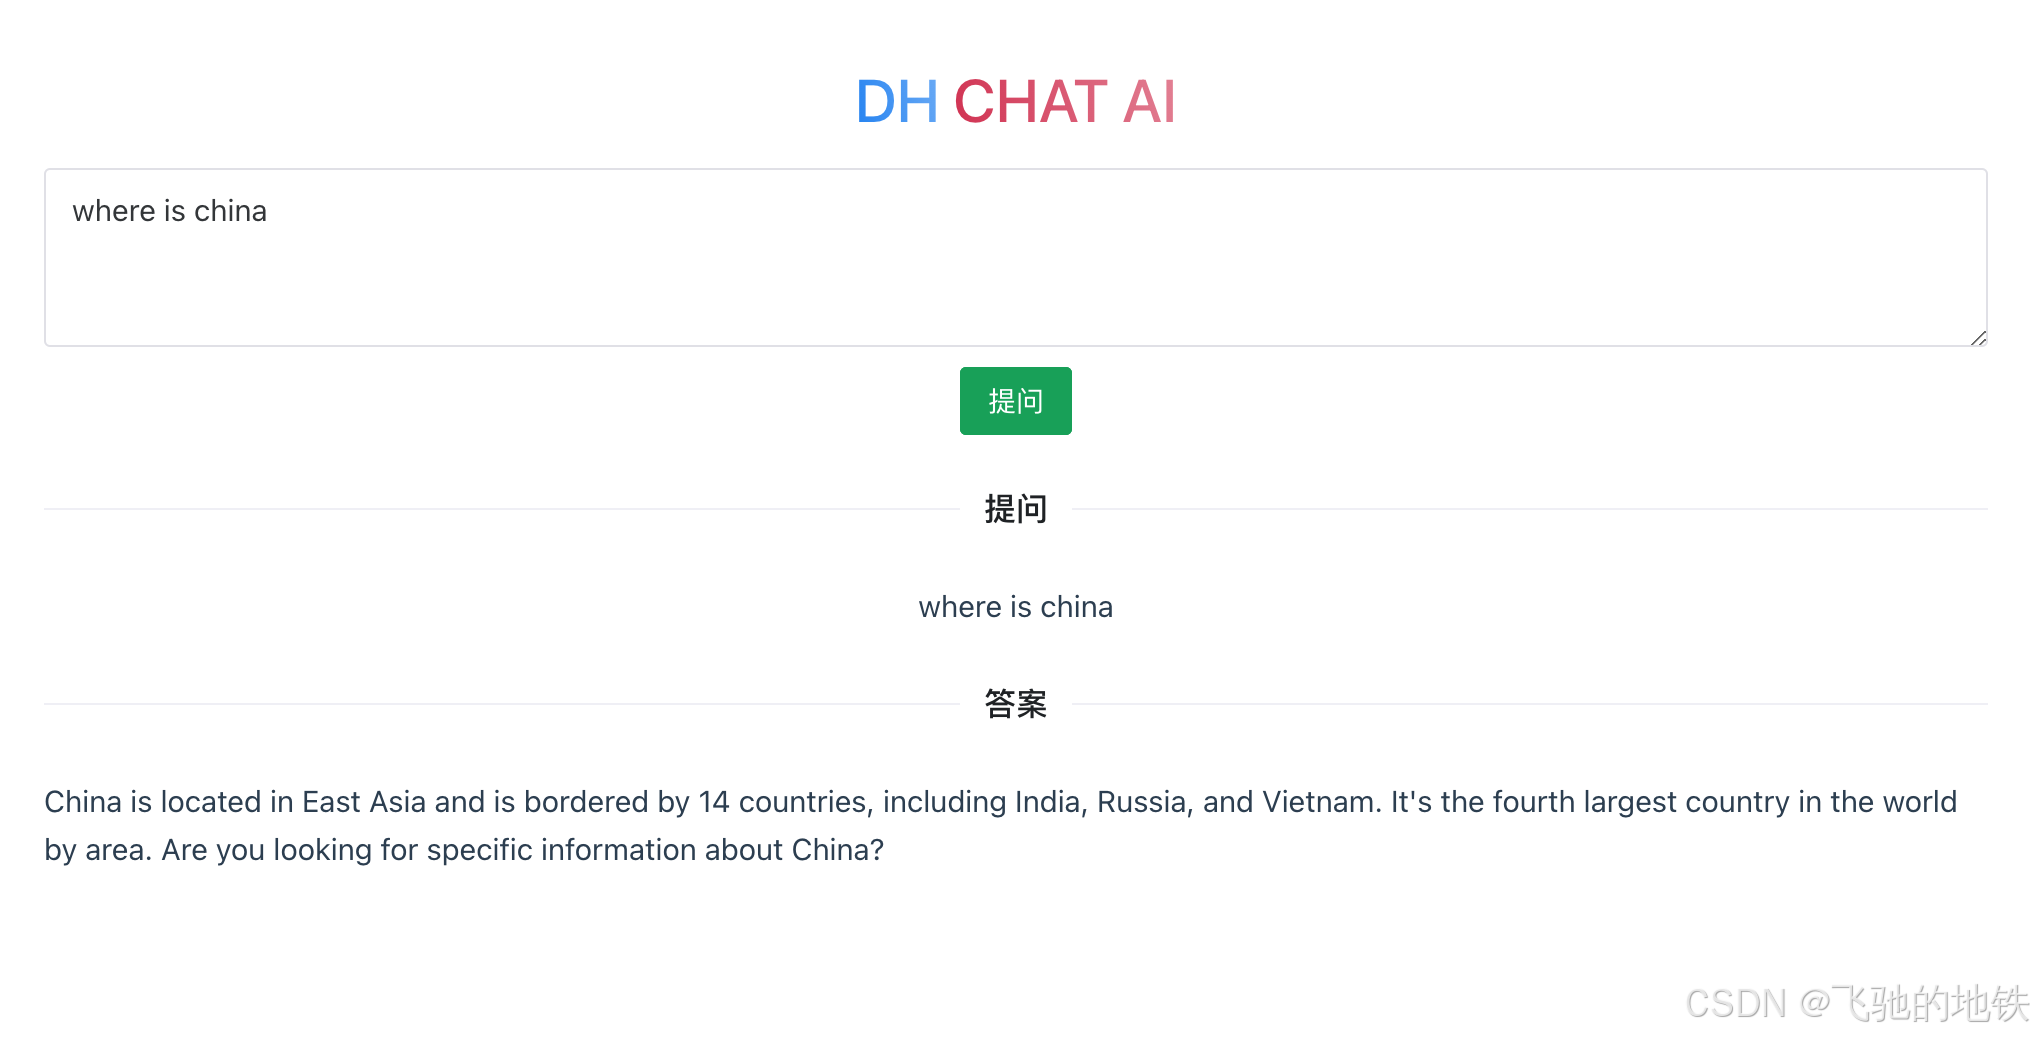
完成
简单的回答,很 OK
简单的 MVP 版本
以上。
-
版权声明: 本博客所有文章除特别声明外,均采用
CC BY 4.0 CN协议
许可协议。转载请注明出处!
Жизнь, как качели - то вверх, то вниз.