跨域的解决方式,写一下 demo。代码: https://github.com/laputaz/cross-origin-demo
- 通过 jsonp 跨域
- 跨域资源共享(CORS)
- document.domain + iframe 跨域
- location.hash + iframe
- postMessage 跨域
- nginx 代理跨域
- nodejs 中间件代理跨域
- WebSocket 协议跨域
jsonp
原理是通过 script 标签允许跨域的特性。前端生成 script 标签,src 为请求的 url,前端定义好 callback 函数,并把 callback 函数名传到后端。后端生成 callback(res) 的形式,设置 content-type 为 javascript,使得浏览器接收到响应后当成 javascript 执行。
前端:
1
2
3
4
5
6
7
8
9
10
11
12
13
14
15
16
17
18
19
20
21
22
23
24
25
26
27
28
29
30
| <div>JSONP</div>
原生:
<p class="inner"></p>
Jquery:
<p class="inner1"></p>
<script src="https://cdnjs.cloudflare.com/ajax/libs/jquery/3.6.0/jquery.min.js"></script>
<script type="module">
const script = document.createElement('script')
script.type = 'text/javascript'
script.src = 'http://localhost:3000/jsonp?callback=handleCallback'
function handleCallback(res) {
document.querySelector('.inner').innerHTML = JSON.stringify(res)
}
window.handleCallback = handleCallback
document.head.appendChild(script)
$.ajax({
url: 'http://localhost:3000/jsonp?callback=handleCallback',
type: 'get',
dataType: 'jsonp',
jsonpCallback: 'handleCallback',
}).done(function (data) {
document.querySelector('.inner1').innerHTML = JSON.stringify(data)
})
</script>
|
koa 实现服务端:
1
2
3
4
5
6
7
8
9
10
11
| router.get('/jsonp', (ctx, next) => {
const callbackFunc = ctx.request.query.callback
const res = { name: 'river' }
ctx.response.body = `${callbackFunc}(${JSON.stringify(res)})`
ctx.response.headers['content-type'] = 'text/javascript;charset=UTF-8'
next()
})
|
效果:
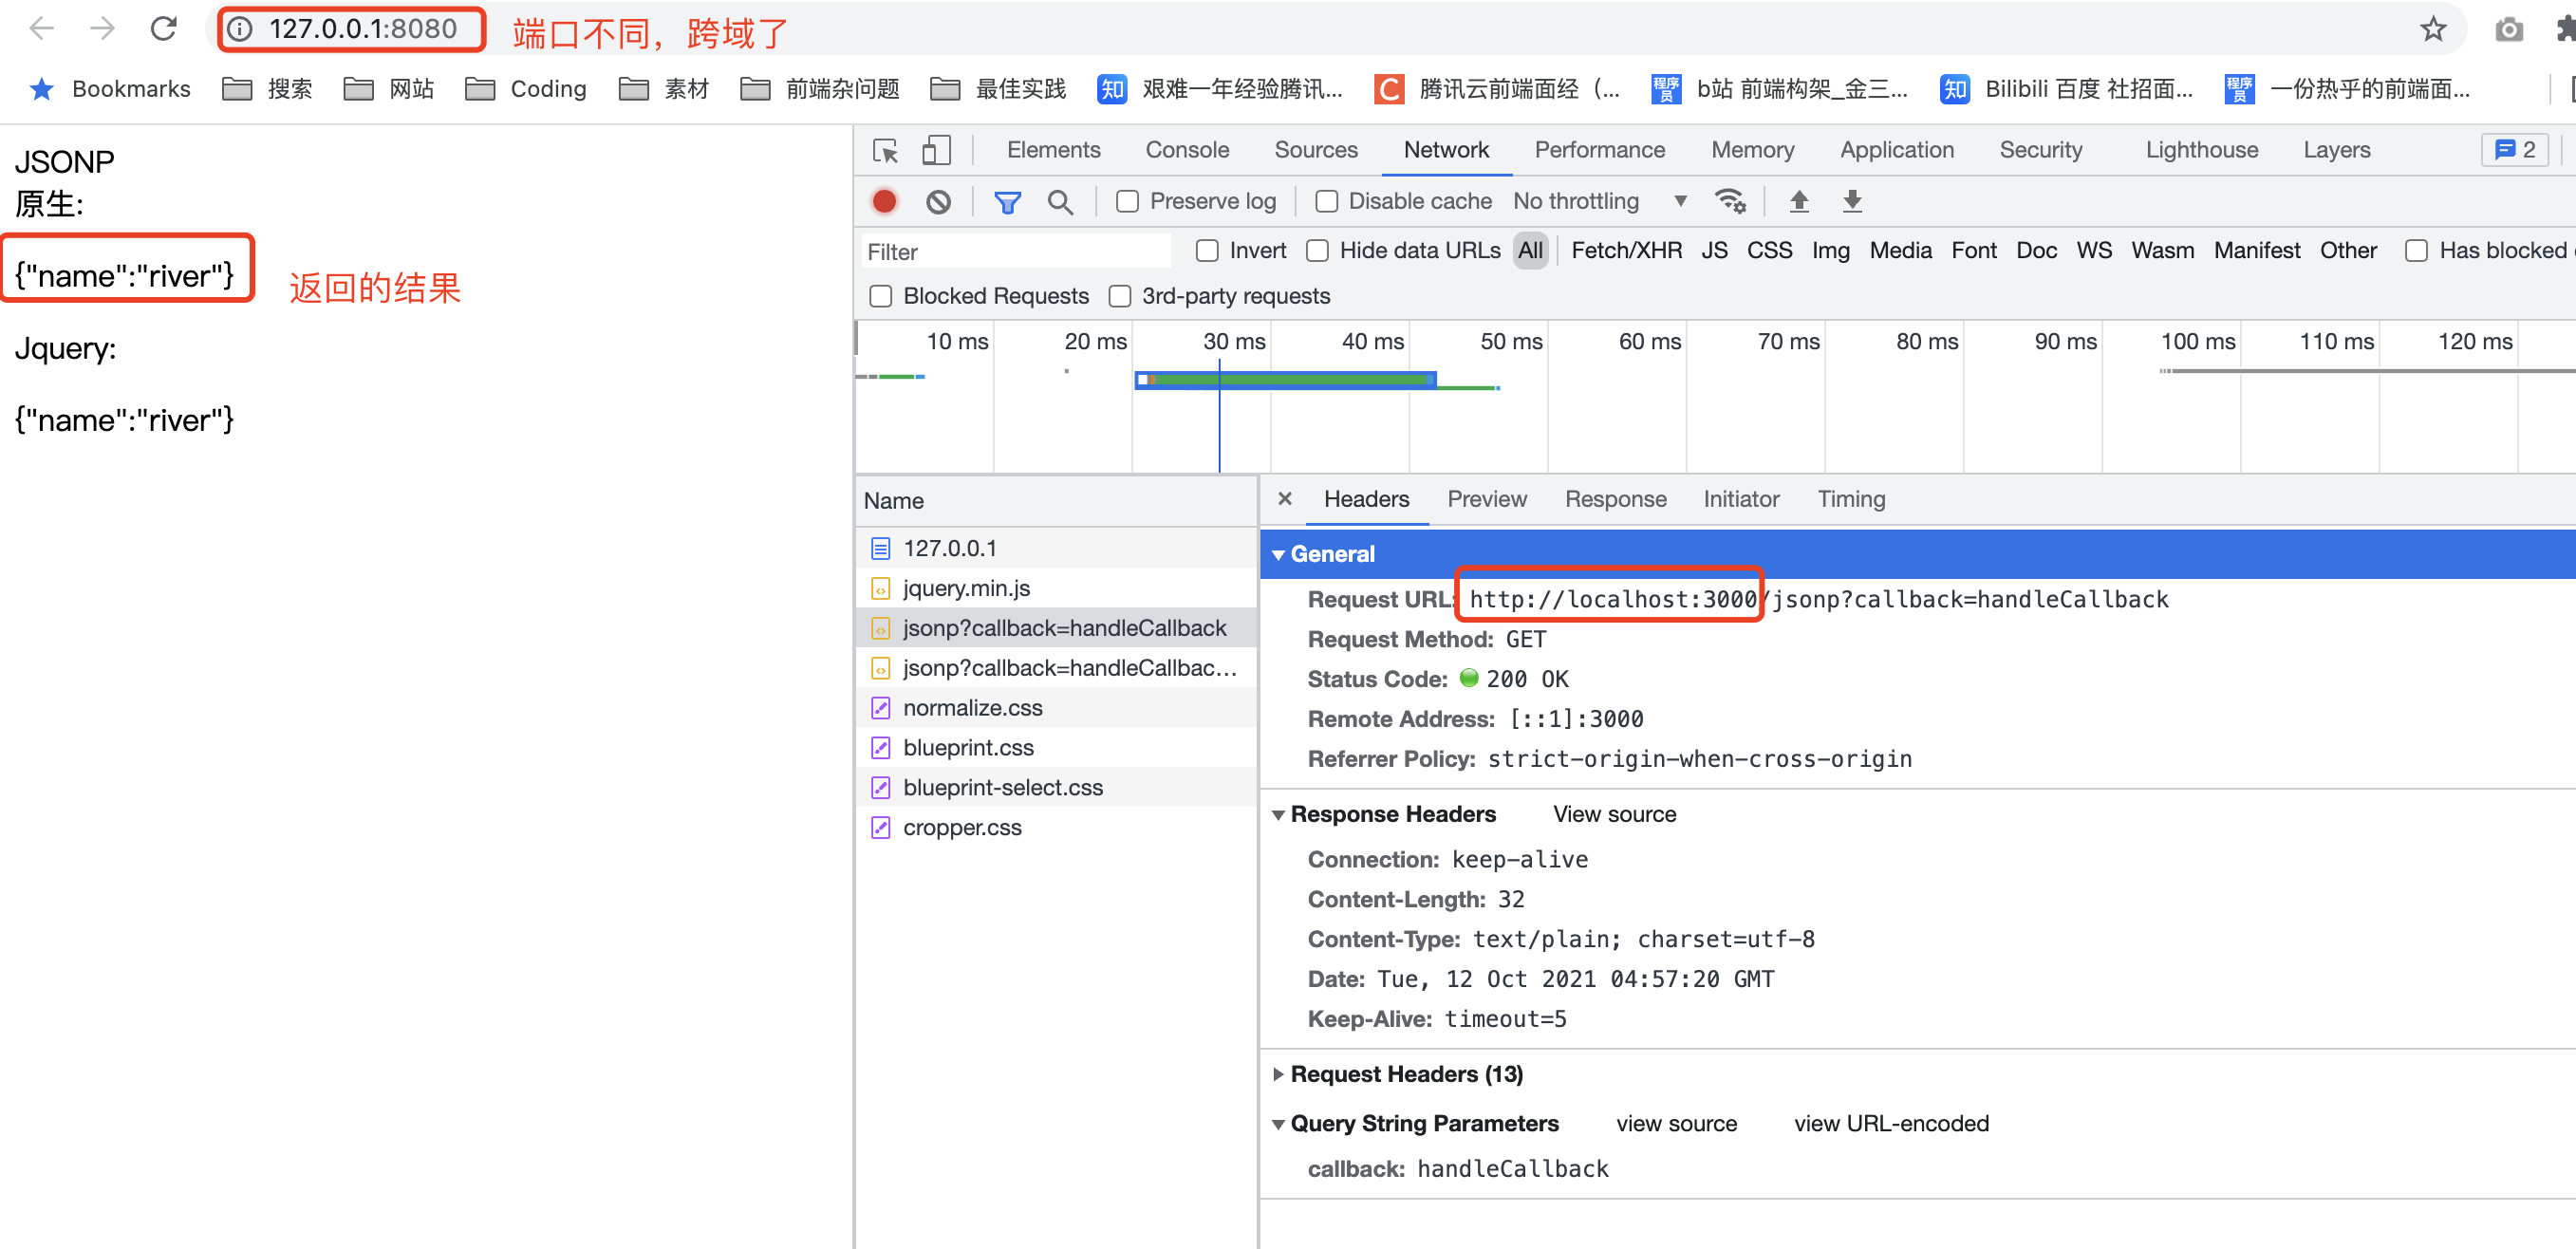
jsonp 的缺点在于只能实现 get 请求
CORS
再说一次,跨域是浏览器的限制,cors 是浏览器读取服务端响应头,判断 Access-Control-xxx 相关的字段,再决定能否跨域
跨域的情形(简单请求):
在涉及到 CORS 的请求中,我们会把请求分为简单请求和复杂请求。
规范要求,对那些可能对服务器数据产生副作用的 HTTP 请求方法(特别是 GET 以外的 HTTP 请求,或者搭配某些 MIME 类型的 POST 请求),浏览器必须首先使用 OPTIONS 方法发起一个预检请求(preflight request),从而获知服务端是否允许该跨域请求。服务器确认允许之后,才发起实际的 HTTP 请求。
简单请求的判断方式:
- 请求方法:GET、POST、HEAD
- 除了以下的请求头字段之外,没有自定义的请求头
- Accept
- Accept-Language
- Content-Language
- Content-Type
- DPR
- Downlink
- Save-Data
- Viewport-Width
- Width
- Content-Type 的值只有以下三种(Content-Type 一般是指在 post 请求中,get 请求中设置没有实际意义)
- text/plain
- multipart/form-data
- application/x-www-form-urlencoded
复杂请求的例子:
在请求头加入自定义的 headers: {custom:1}
1
2
3
4
5
6
7
8
9
| <script src="https://cdnjs.cloudflare.com/ajax/libs/axios/0.22.0/axios.min.js"></script>
<script type="module">
axios.get('http://localhost:3000/cors', {
headers: {
custom: 1,
},
})
</script>
|
后端代码
1
2
3
4
5
6
7
8
9
10
11
12
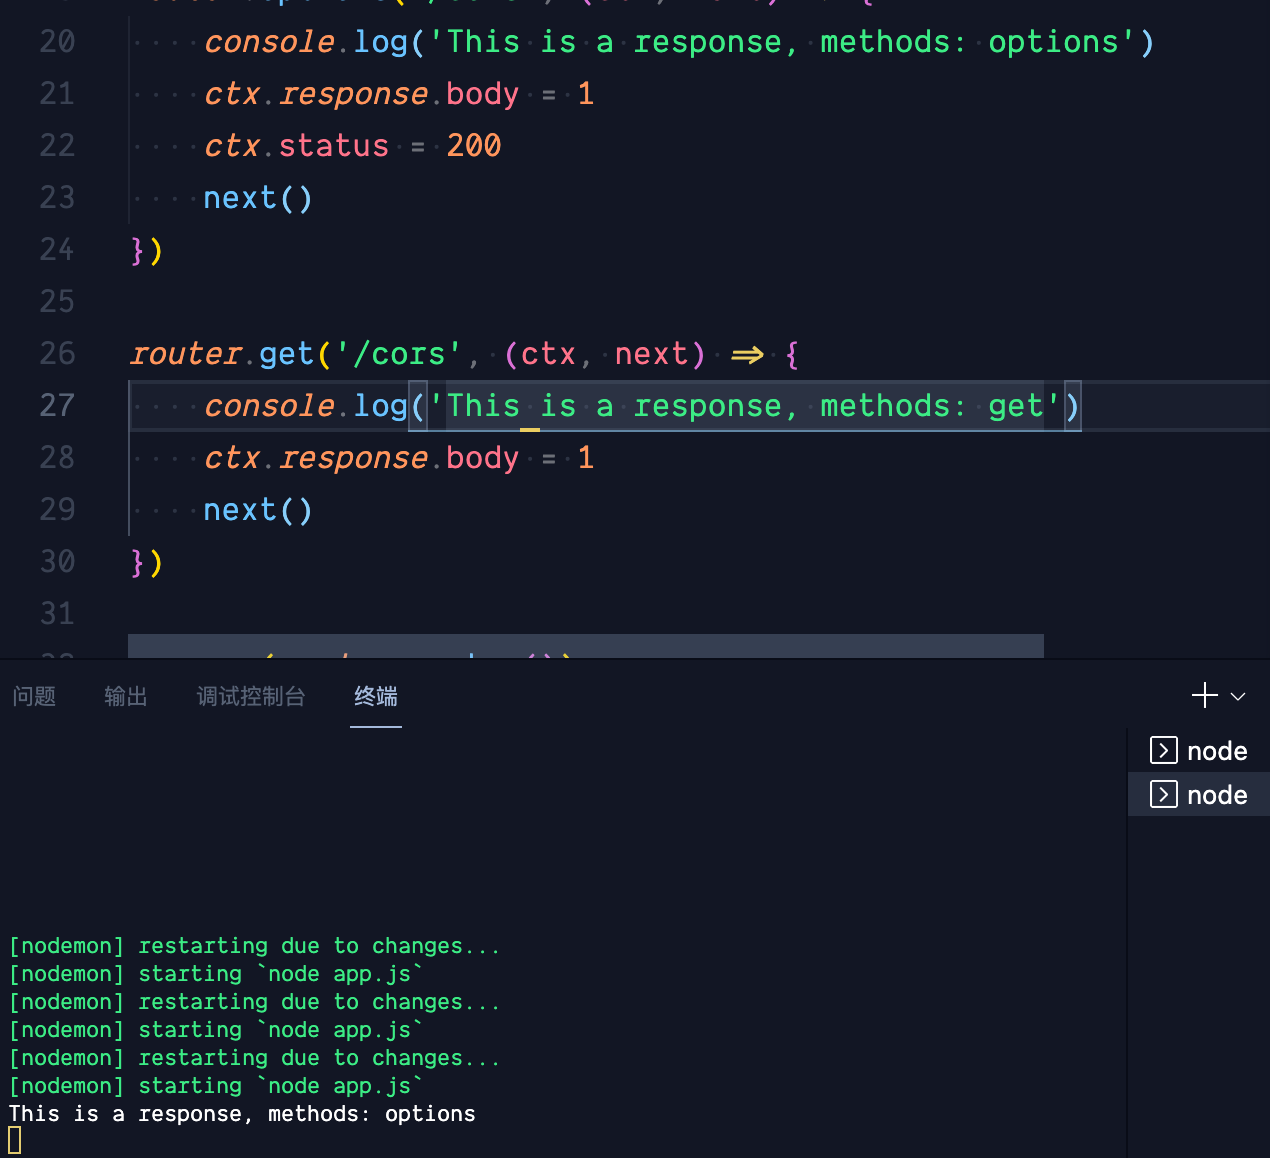
| router.options('/cors', (ctx, next) => {
console.log('This is a response, methods: options')
ctx.response.body = 1
ctx.status = 500
next()
})
router.get('/cors', (ctx, next) => {
console.log('This is a response, methods: get')
ctx.response.body = 1
next()
})
|
可以看到,会发送一个 options 请求。
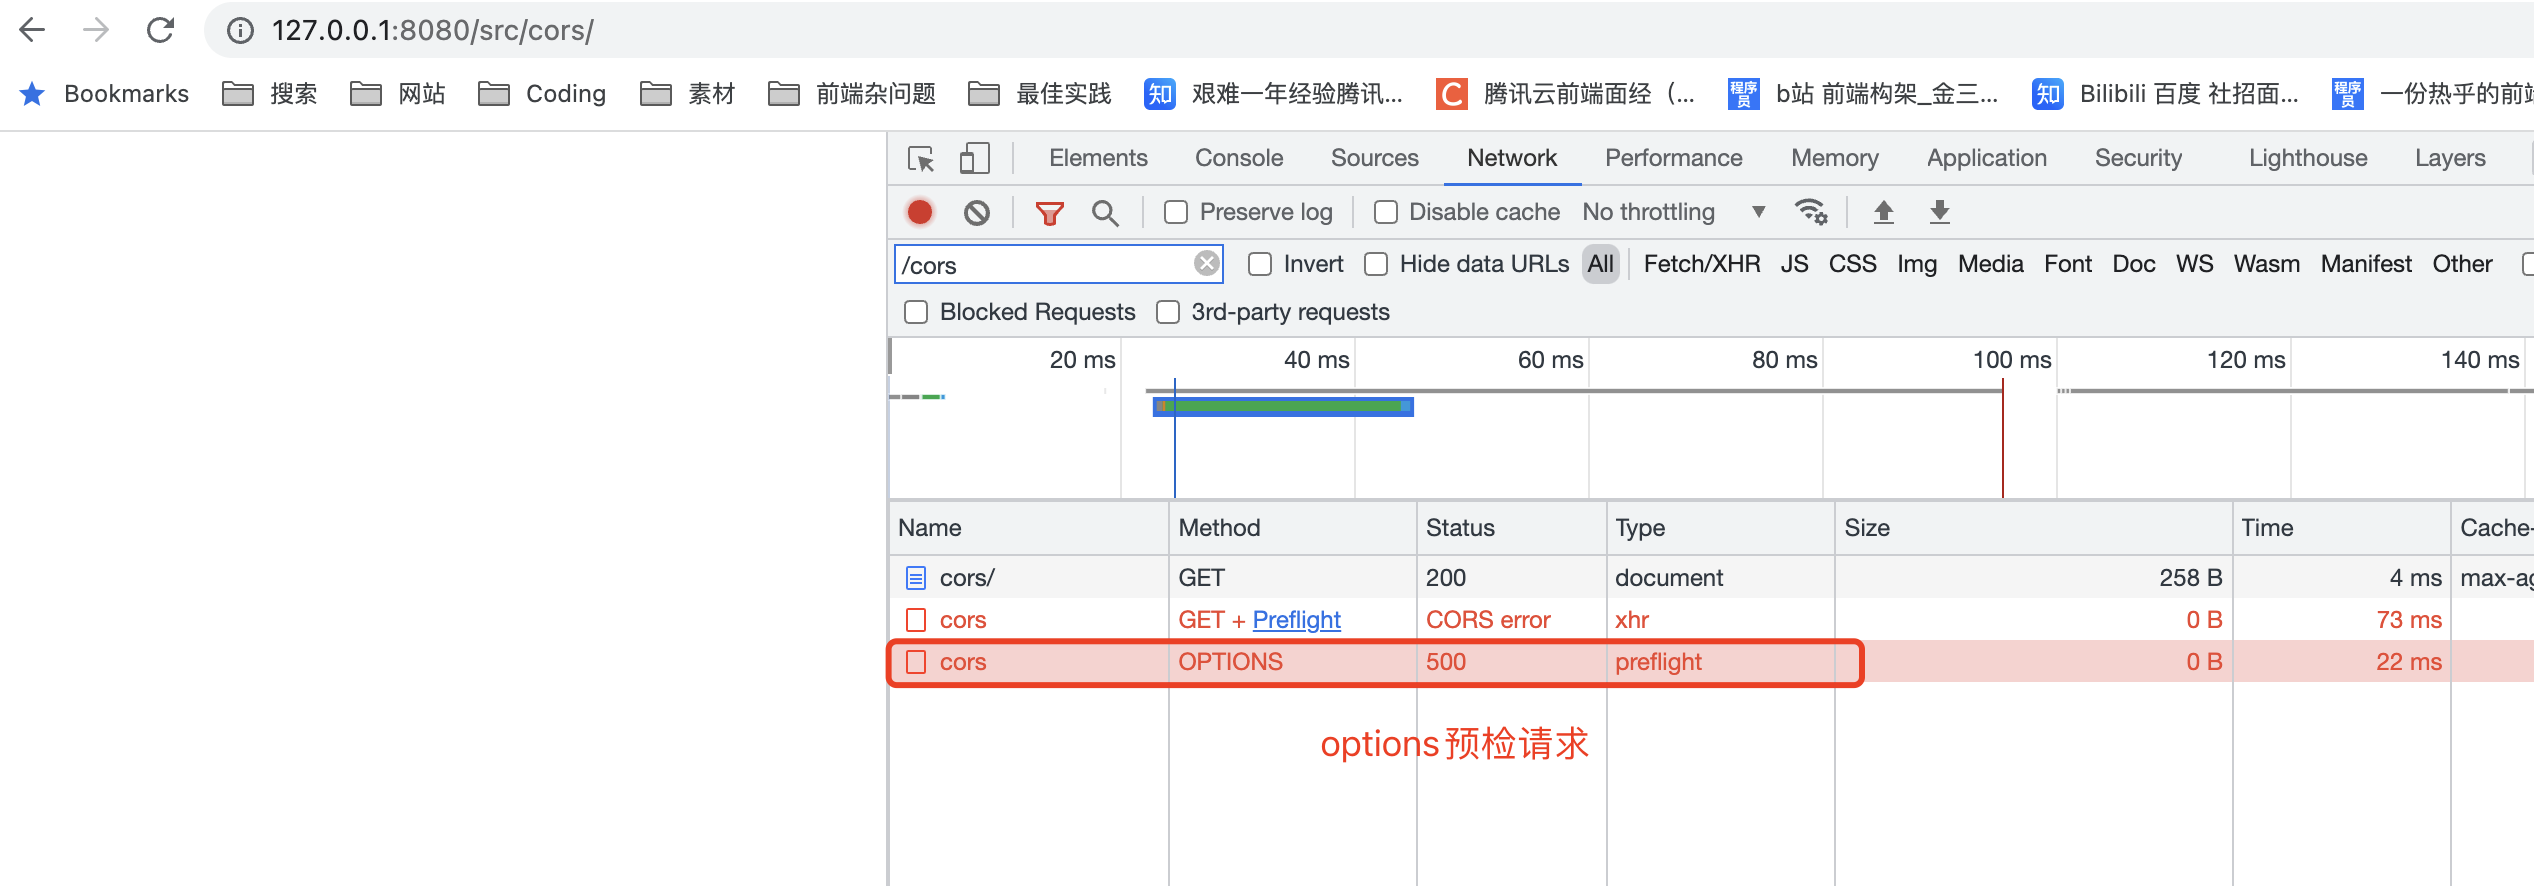
并且,只要预检不通过,真正的请求是不会被发送的,从服务端的日志可以看到,只接受到了 options
上图预检返回的状态码是 500。那预检怎么样才算通过呢?状态码 200?并不是,需要是状态码 200,并且,响应头带有 Access-Control-xxxx 等字段。把上面服务端代码改成:
1
2
3
4
5
6
7
8
9
10
11
12
13
14
15
16
| router.options('/cors', (ctx, next) => {
console.log('This is a response, methods: options')
ctx.response.body = 1
ctx.status = 200
ctx.set('Access-Control-Allow-Origin', '*')
ctx.set('Access-Control-Allow-Headers', 'custom')
next()
})
router.get('/cors', (ctx, next) => {
console.log('This is a response, methods: get')
ctx.response.body = 1
next()
})
|
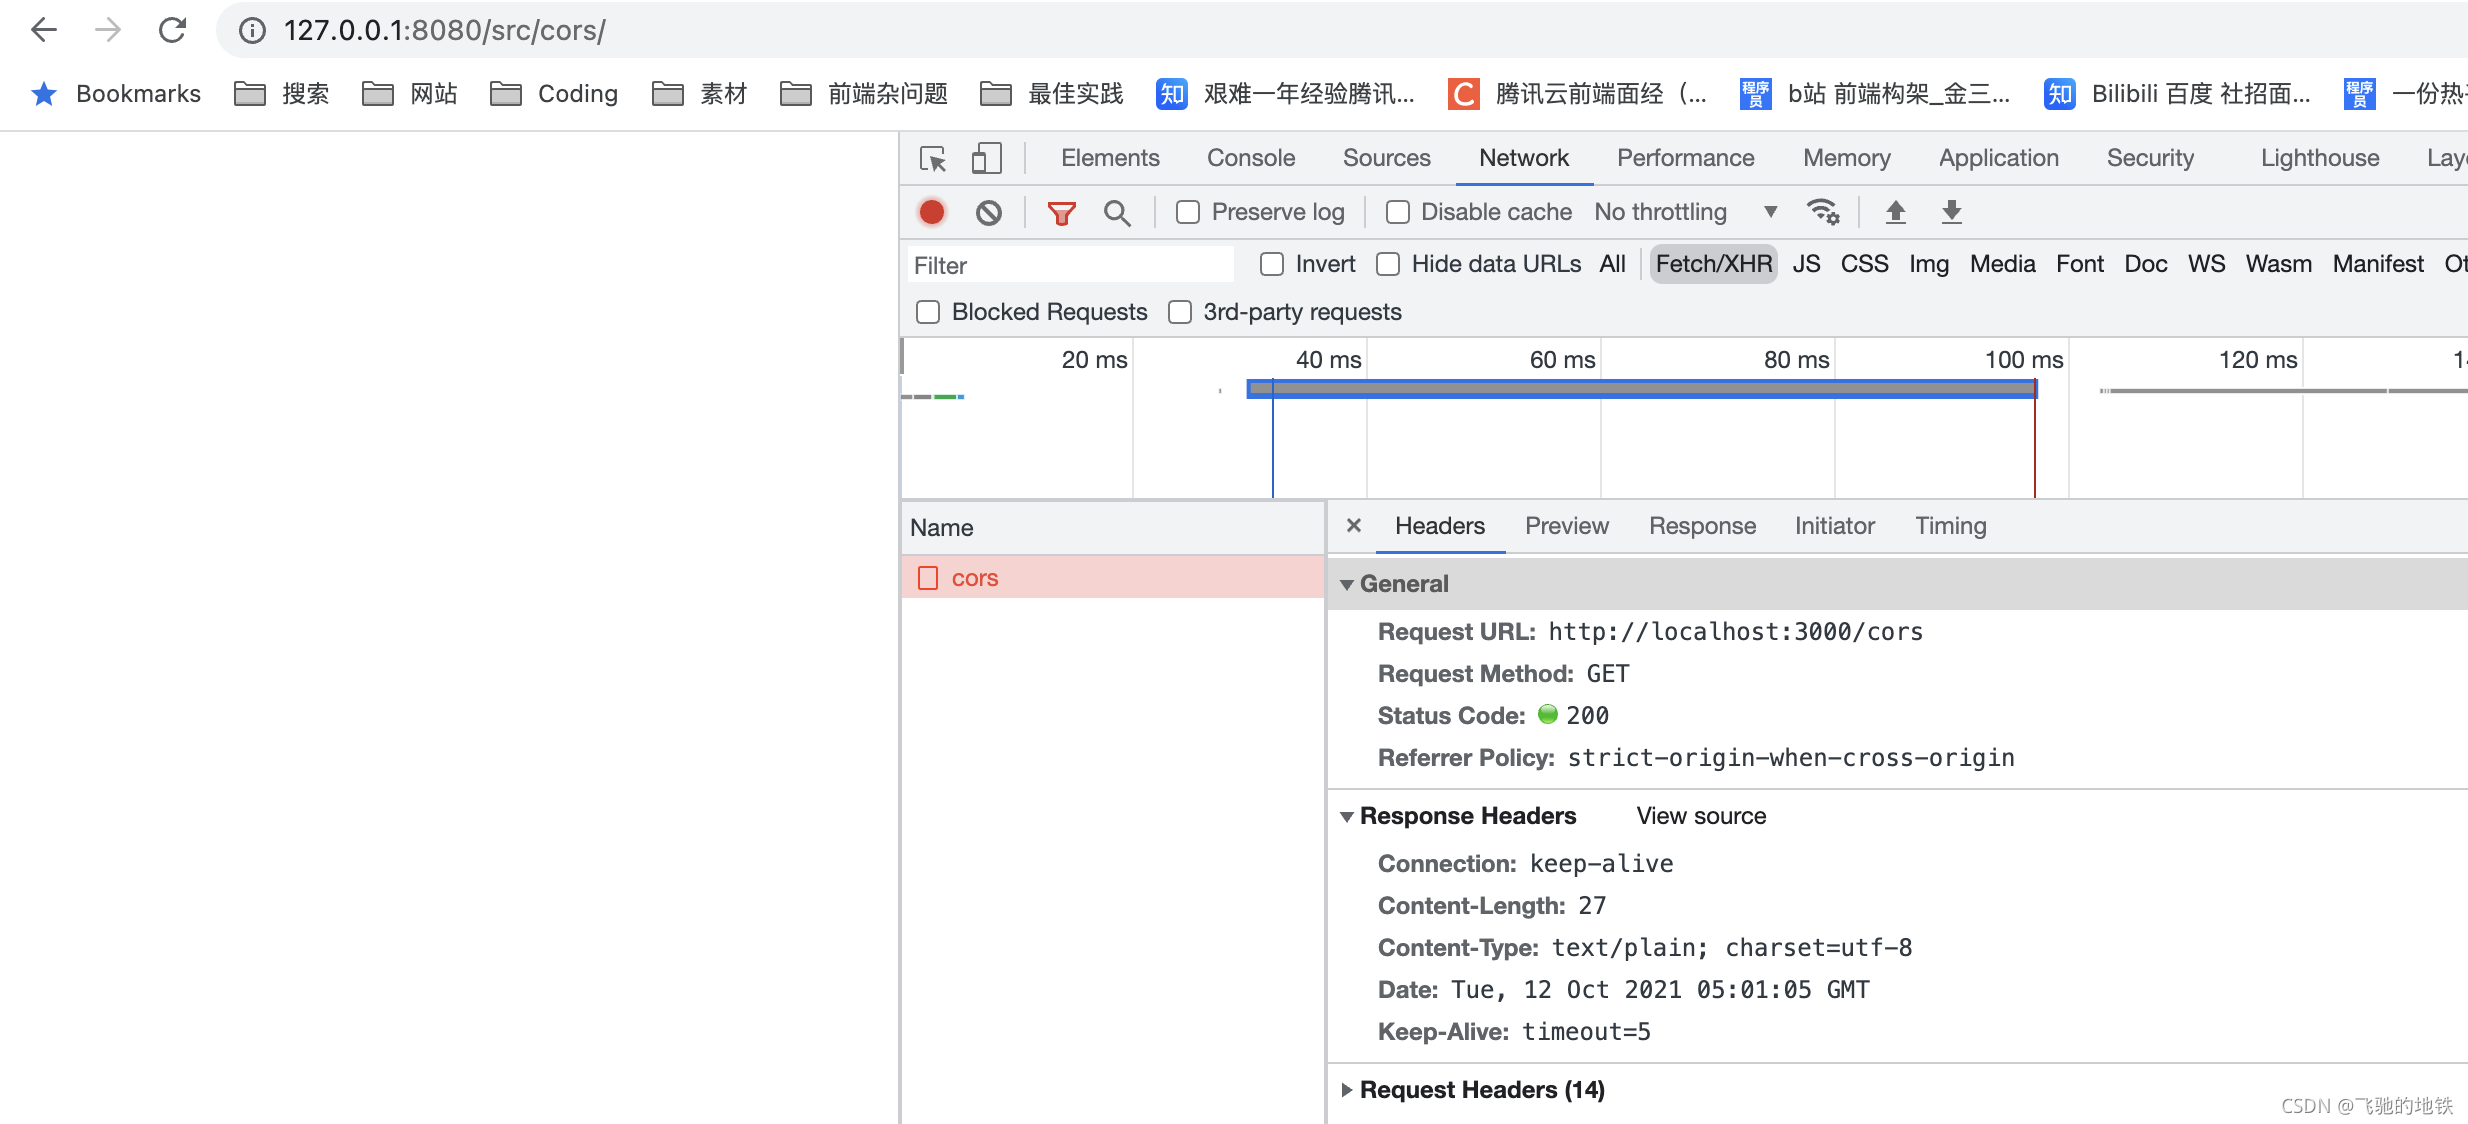
可以看到,options 预检通过了,get 请求已经正常发出了。

但因为跨域被屏蔽了。这个时候服务端可以正常响应,表现得状态码也是服务端返回的状态码。但是响应信息被浏览器屏蔽了。没办法获取。
一些常用的 CORS 头
1
2
3
4
5
6
7
8
9
10
11
12
13
14
15
16
17
18
19
20
21
22
23
24
25
26
27
28
29
30
31
32
33
34
35
36
37
38
39
40
41
42
43
44
45
| app.use(async (ctx, next) => {
ctx.set('Access-Control-Allow-Origin', '*')
ctx.set('Access-Control-Allow-Methods', 'OPTIONS, GET, PUT, POST, DELETE')
ctx.set(
'Access-Control-Allow-Headers',
'x-requested-with, accept, origin, content-type,custom'
)
ctx.set('Content-Type', 'application/json;charset=utf-8')
ctx.set('Access-Control-Allow-Credentials', true)
ctx.set('Access-Control-Max-Age', 300)
ctx.set('Access-Control-Expose-Headers', 'myData')
await next()
})
|
注意,正常情况下,每次发送跨域复杂请求,都会发 options 预检,我们可以设置 Access-Control-Max-Age: 3000,单位毫秒。即在规定时间内不用再发送预检请求了。节省流量。
document.domain + iframe 跨域
仅限主域相同,子域不同的跨域应用场景。两个页面都通过 js 强制设置 document.domain 为基础主域,就实现了同域。
- 父窗口:(http://www.domain.com/a.html)
1
2
3
4
5
| <iframe id="iframe" src="http://child.domain.com/b.html"></iframe>
<script>
document.domain = 'domain.com'
var user = 'admin'
</script>
|
- 子窗口:(http://child.domain.com/b.html)
1
2
3
4
| <script>
document.domain = 'domain.com'
alert('get js data from parent ---> ' + window.parent.user)
</script>
|
location.hash + iframe
- 在父页面:iframe.src = iframe.src + ‘#user=admin’;
- 在子页面:window.onhashchange = function () {}
postMessage + iframe/window.open
在不同的端口起两个页面
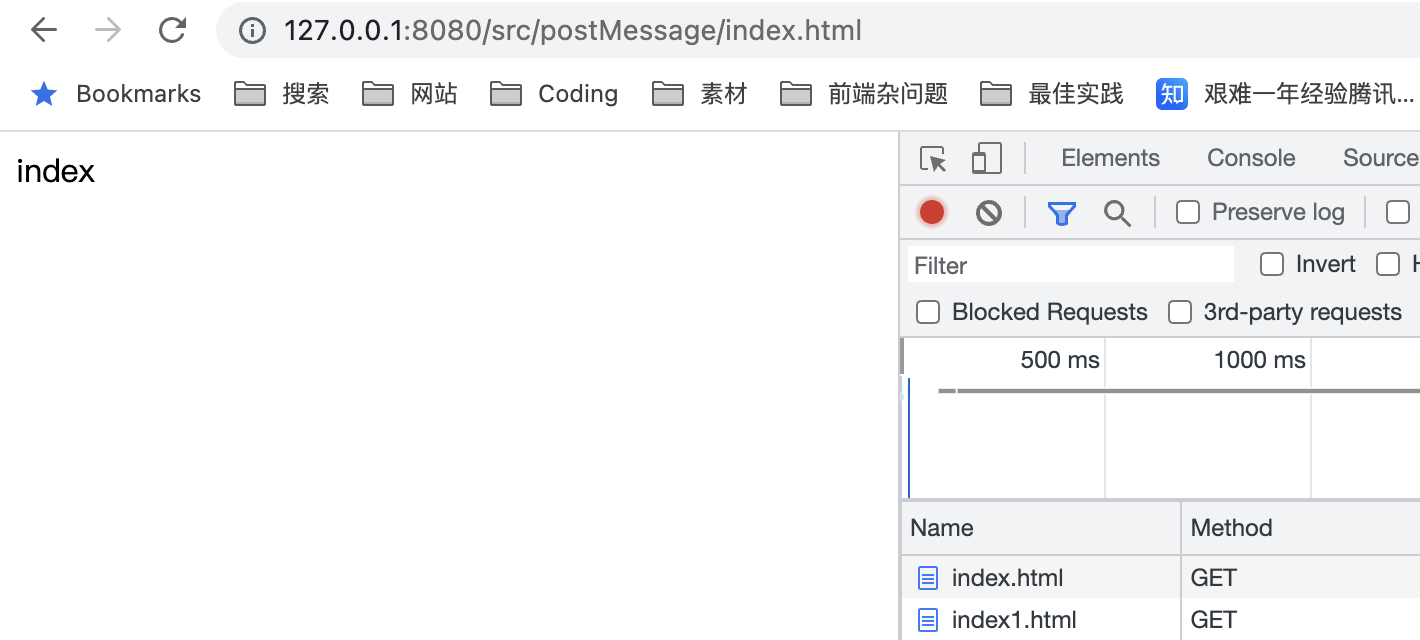
在页面一设置一个 iframe,指向页面二,并隐藏
1
2
3
4
5
6
7
8
9
10
11
12
13
14
15
16
17
18
19
20
21
22
23
24
25
26
27
28
| <div>index</div>
<iframe
id="iframe"
src="http://127.0.0.1:8081/src/postMessage/index1.html"
style="display: none"
></iframe>
<script>
var iframe = document.getElementById('iframe')
iframe.onload = function () {
var data = {
name: 'river',
}
iframe.contentWindow.postMessage(
JSON.stringify(data),
'http://127.0.0.1:8081'
)
}
window.addEventListener(
'message',
function (e) {
alert('data from 8081 ---> ' + e.data)
},
false
)
</script>
|
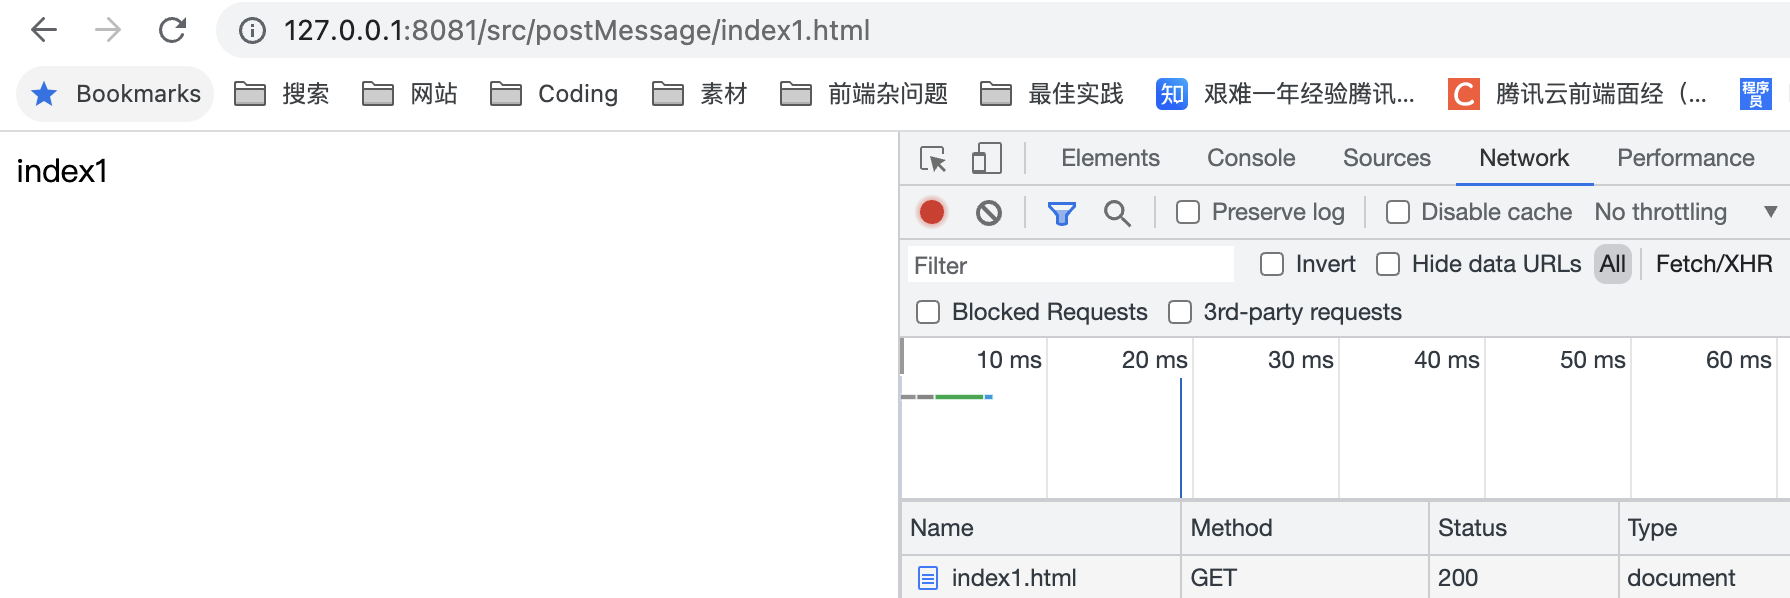
在页面二接受,并返回
1
2
3
4
5
6
7
8
9
10
11
12
13
14
15
16
17
| <div>index1</div>
<script>
window.addEventListener(
'message',
function (e) {
alert('data from 8080 ---> ' + e.data)
var data = JSON.parse(e.data)
if (data) {
data.number = 16
window.parent.postMessage(JSON.stringify(data), '*')
}
},
false
)
</script>
|
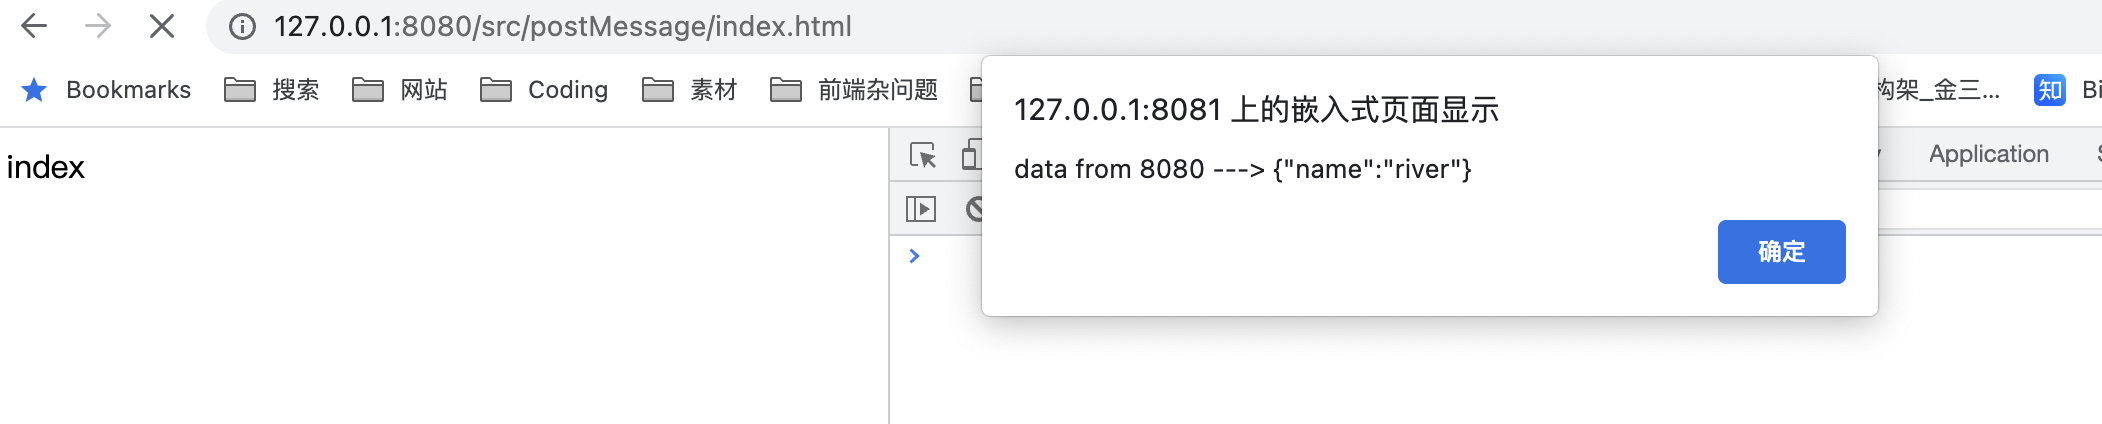
效果:
这么看来,如果页面一需要调用页面二的域的接口,就可以通过这种方式做了。
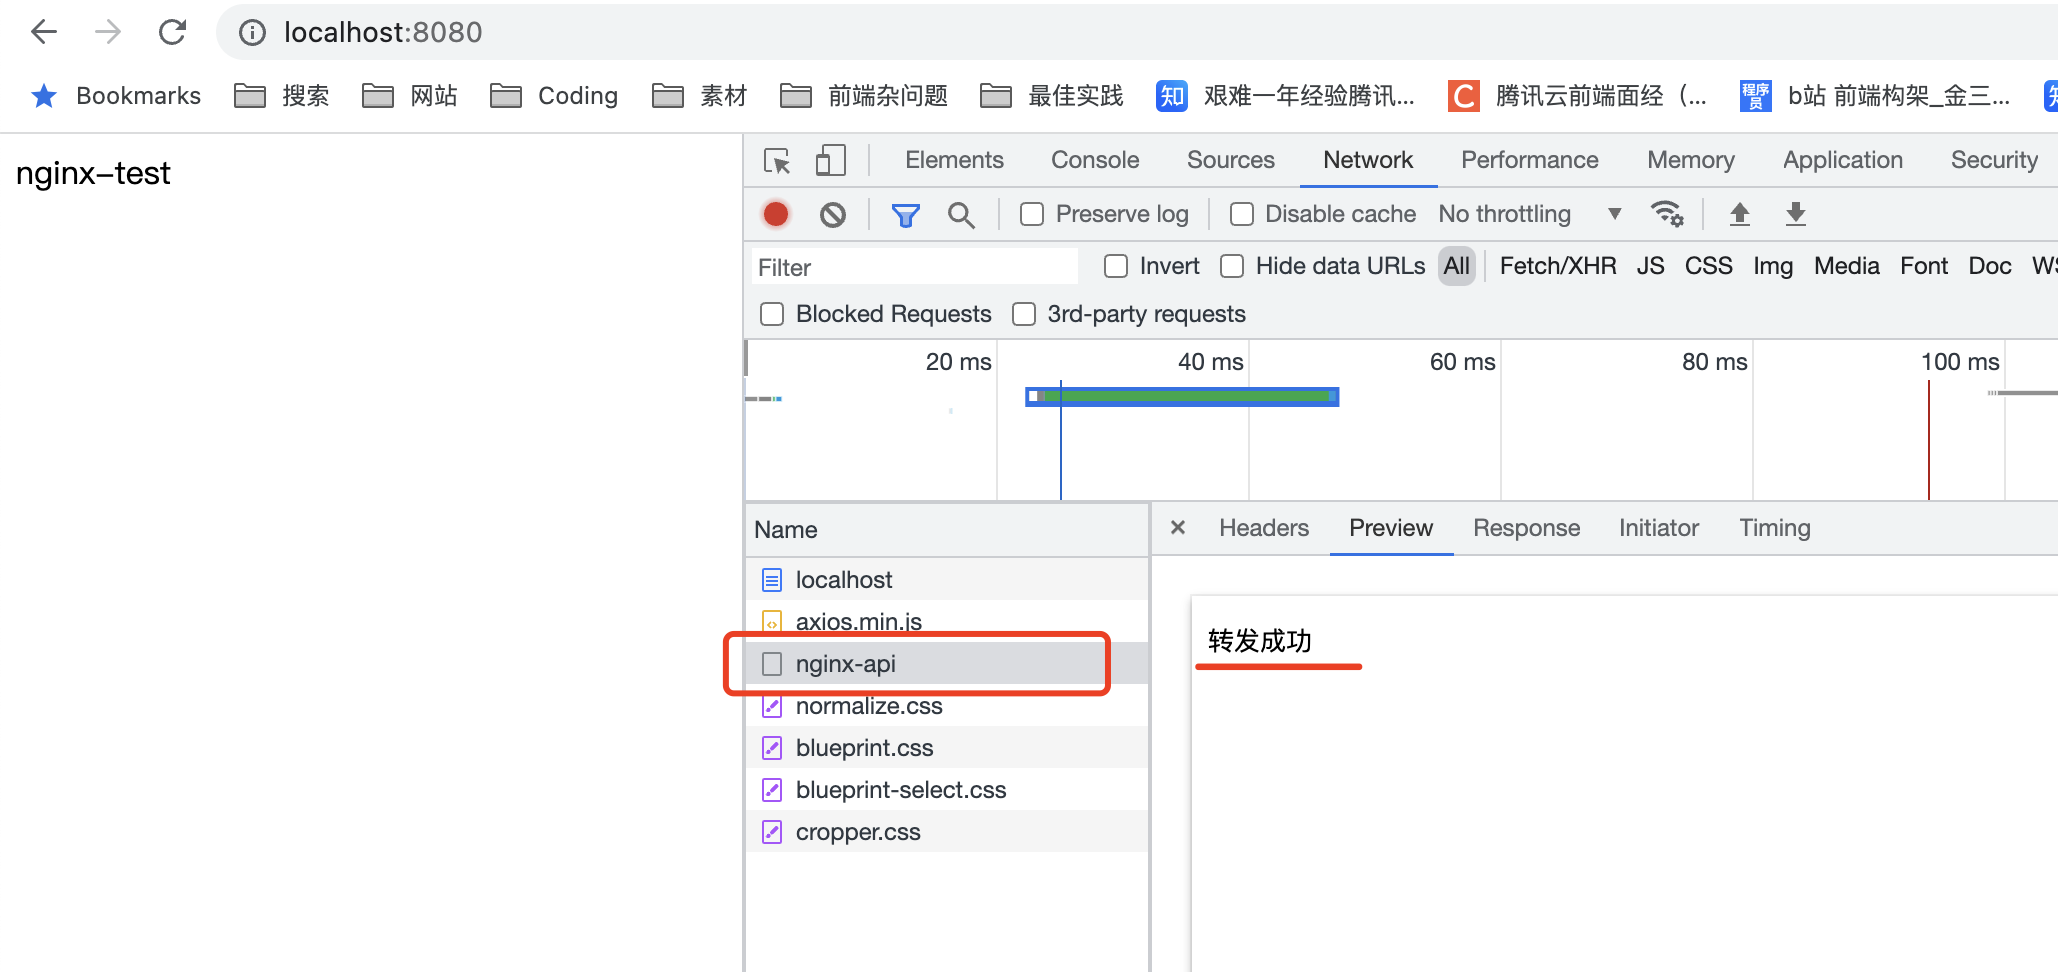
nginx 代理跨域
- 首先配置 nginx 指向 index.html
- 配置 /nginx-api 接口代理到 localhost:3000
nginx 配置:
1
2
3
4
5
6
7
8
9
10
11
12
| server {
listen 8080;
server_name localhost;
location / {
root /Users/river/Documents/workspace/cross-origin-demo/src/nginx/;
index index.html;
}
location /nginx-api {
proxy_pass http://localhost:3000;
}
}
|
前端请求:
1
2
3
4
5
6
| <div>nginx-test</div>
<script src="https://cdnjs.cloudflare.com/ajax/libs/axios/0.22.0/axios.min.js"></script>
<script type="module">
axios.get('/nginx-api')
</script>
|
node 服务端(localhost:3000)
1
2
3
4
5
| router.get('/nginx-api', (ctx, next) => {
console.log('This is a response, methods: get')
ctx.response.body = '转发成功'
next()
})
|
效果:
nodejs 中间件代理跨域
也就是在 node 中间层请求接口再返回,不演示了。。
WebSocket 协议跨域
WebSocket 实现了浏览器与服务器全双工通信,同时允许跨域通讯,是 server push 技术的一种很好的实现。
原生 WebSocket API 使用起来不方便,使用 Socket.io,它封装了 webSocket 接口,提供了更简单、灵活的接口,也对不支持 webSocket 的浏览器提供了向下兼容。
客户端: socket.io-client
1
2
3
4
5
6
7
8
9
10
11
12
13
14
15
16
17
18
19
20
21
22
23
24
25
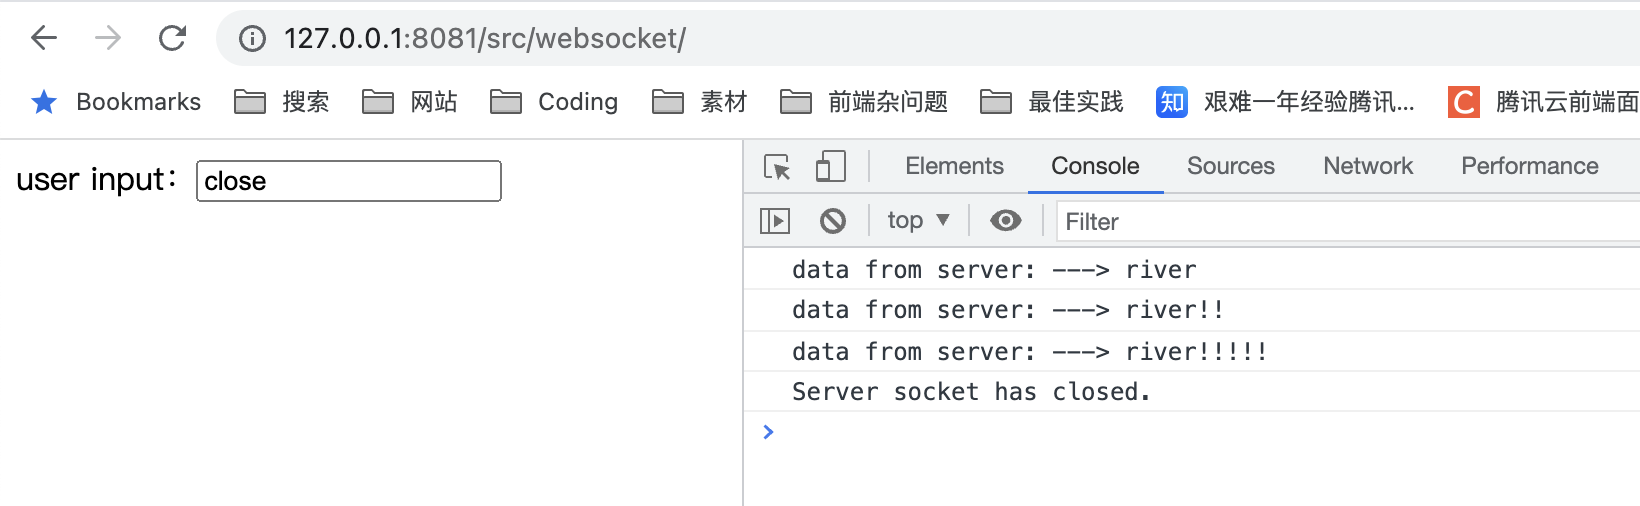
| <div>user input:<input type="text" /></div>
<script src="https://cdn.socket.io/4.2.0/socket.io.min.js"></script>
<script>
var socket = io('http://localhost:3000')
socket.on('connect', function () {
socket.on('message', function (msg) {
console.log('data from server: ---> ' + msg)
})
socket.on('disconnect', function () {
console.log('Server socket has closed.')
})
})
document.getElementsByTagName('input')[0].onblur = function () {
if (this.value === 'close') {
socket.close()
}
socket.send(this.value)
}
</script>
|
服务端:koa + socket.io
1
2
3
4
5
6
7
8
9
10
11
12
13
14
15
16
17
18
19
20
21
22
23
| const Koa = require('koa')
const app = new Koa()
const server = require('http').createServer(app.callback())
const io = require('socket.io')(server, {
cors: {
origin: '*',
},
})
io.on('connection', (socket) => {
socket.on('message', (msg) => {
console.log('message: ' + msg)
io.emit('message', msg)
})
socket.on('disconnect', () => {
console.log('user disconnected')
})
})
server.listen(3000)
console.log('Server is running at port 3000...')
|
效果
-
版权声明: 本博客所有文章除特别声明外,均采用
CC BY 4.0 CN协议
许可协议。转载请注明出处!
Жизнь, как качели - то вверх, то вниз.